Pescador Beanie Light - FREE pattern
I have a serious love affair with winter accessories, especially beanies! They are the perfect accessory to throw on to enhance any outfit. And best of all, they are perfect for hiding a bad hair day!
My Pescador Beanie has to be my most worn handmade item! I love it! I love the ribbed fabric, how warm it is and the look of it. This one is made with worsted weight yarn and the pattern includes instructions for SIX different sizes! From Baby to Adult L.

But I wanted to create something a bit lighter and less chunky - enter the Light Version of the Pescador Beanie!
Pescador Light is made with fingering weight yarn and it’s the PERFECT one-skein wonder project! Don’t tell me you don’t have a random skein of fingering weight yarn (4-ply, sock yarn) that’s too pretty to waste but you have no idea what to use it for! Don’t lie! We all have one!
Well, you can make *almost every size with one single skein!
*The long version of the Adult L might be touch and go for one skein.

Let’s get down to business!
The Pescador Light pattern also comes in SIX sizes: Baby (Toddler, Child, Teen, Adult M, Adult L) and two versions: short and long.
Here on the blog you will find the Adult M in both long and short versions. If you want to make any of the other sizes, please purchase the ad free PDF HERE.
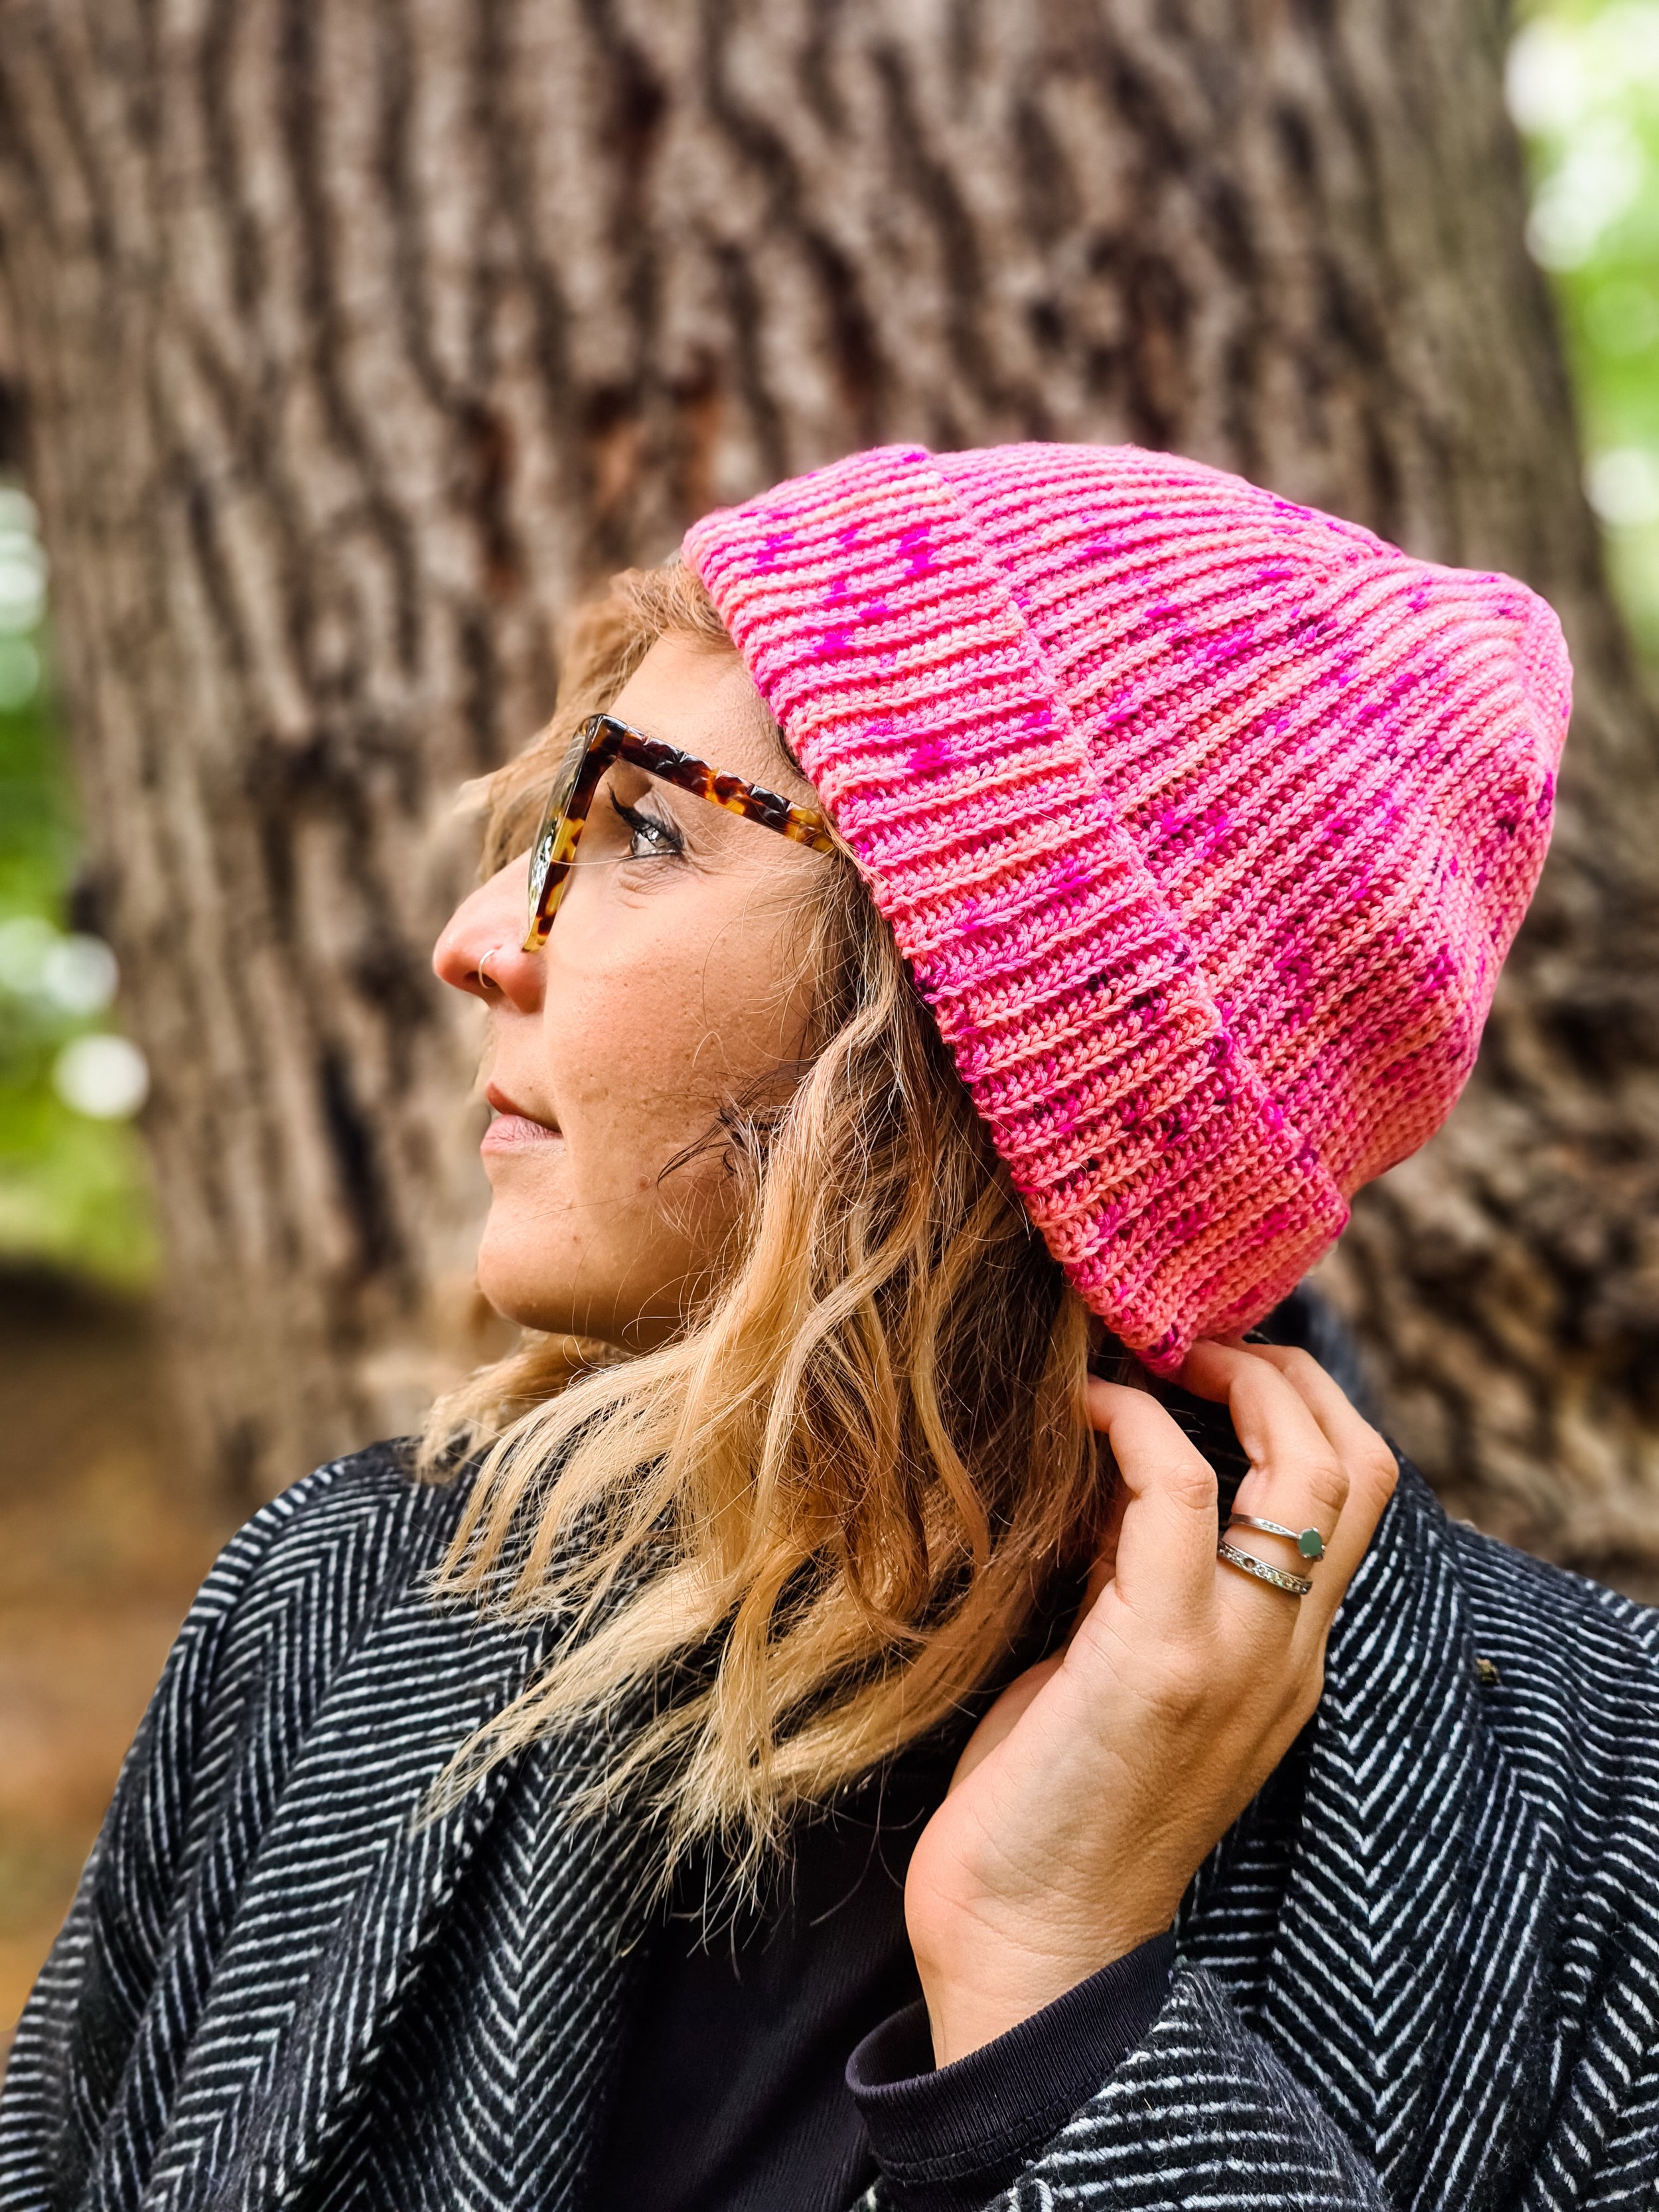
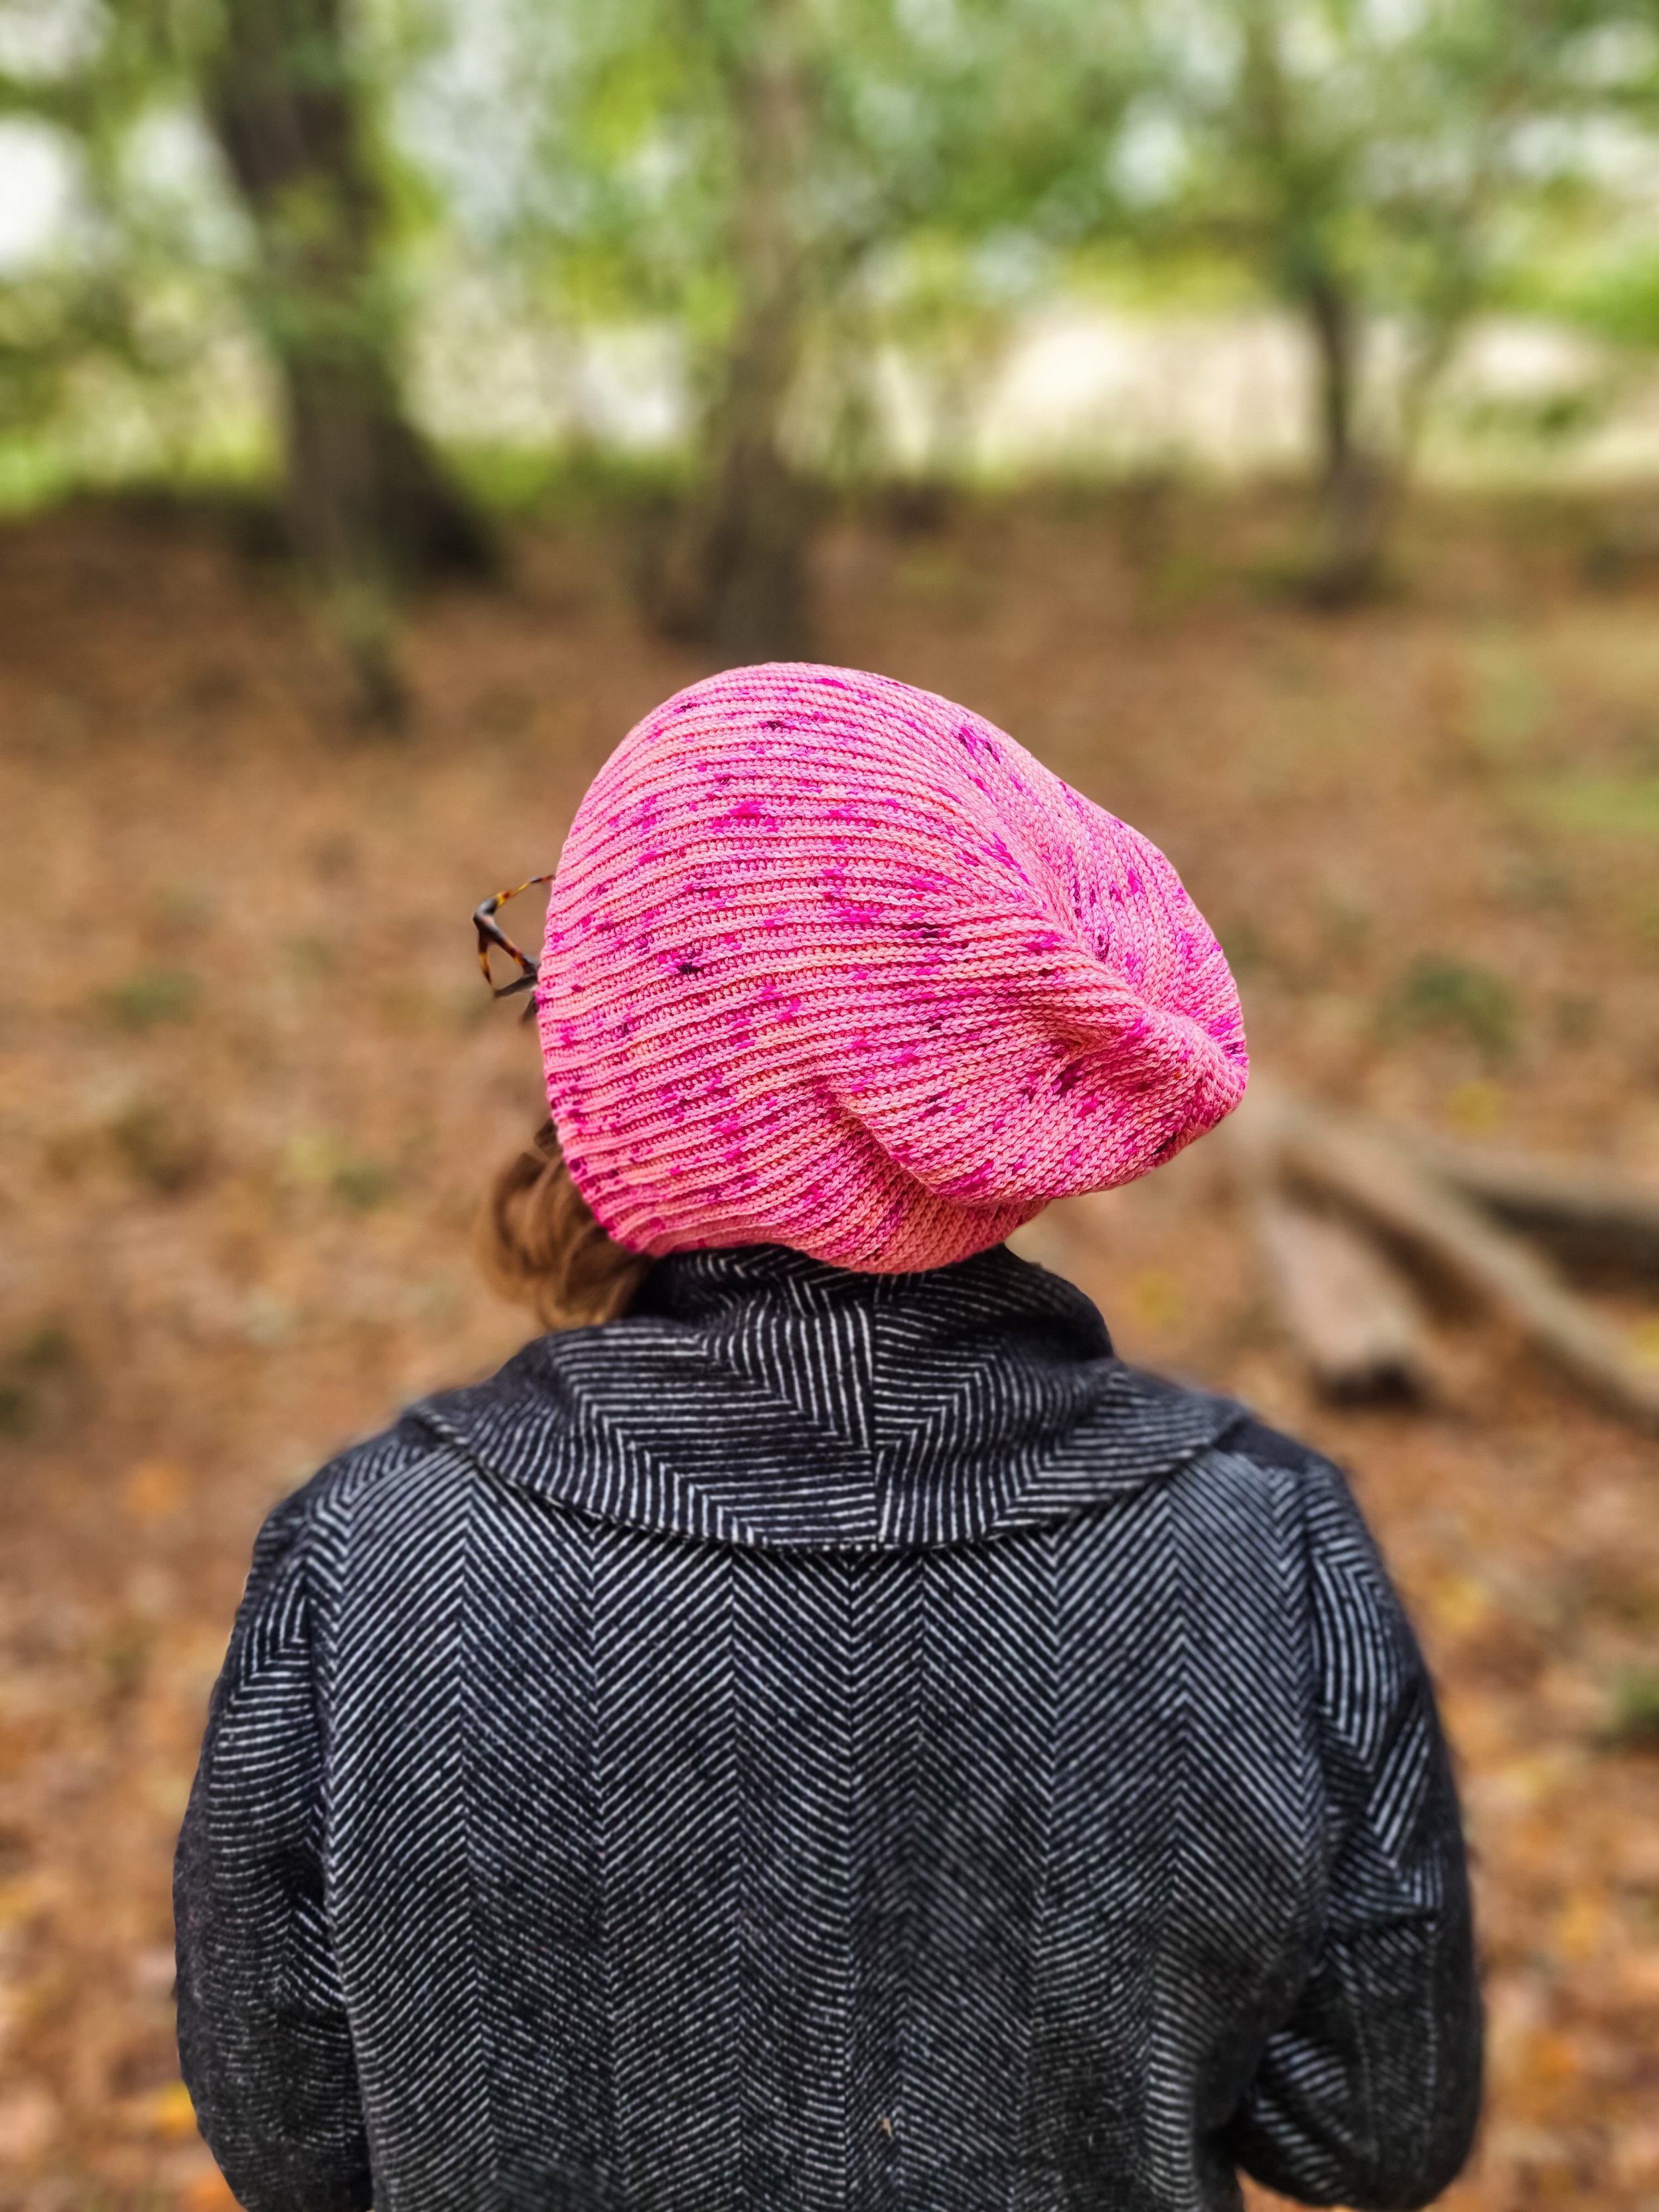
The pink sample I am wearing is an Adult M SHORT, which means that when folded it fits relatively snug around my head and when not folded, it slouches in a lovely way. The long version is meant to slouch even WITH a folded brim. But the beauty of this pattern is that the length is HIGHLY adaptable. So if you want it to be the perfect length, just measure the length of your favorite beanie and make it that long!
The combination of slstBLO and dslBLO used in the construction of this beanie creates a SUPER stretchy ribbing, which really hugs your head without squishing it.
And yes, in case you were wondering, it is CROCHETED and NOT KNITTED!
Some people are terrified of slsts, but in the video tutorial I give you some guidance for how to make the process easier and more enjoyable.
Now, let’s talk about the yarn and those LOVELY speckles!!
My sample was made with Botanical Yarn, 4ply Merino Sock, a lush and fluffy fingering weight yarn. The colorway Galentines is seriously my pink dreams come true!! Although basically ALL of Sophie’s colorways are heaven.


The Deats!
SIZES + MEASUREMENTS
This pattern comes in 1 sizes: Adult M.
To get the pattern with all the other sizes, please purchase the ad-free PDF HERE.
These are the approximate measurements of the finished item:
For head circumference of 58.5 cm/ 23 in.
Hat circumference: 43.5 cm / 17 in. *to be worn with 10 - 15 cm / 4 - 6 in of negative ease
Length of short beanie: 26 cm / 10.25 in.
Length of long beanie: 34 cm / 13.5 in.
MATERIALS
YARN: Fingering weight yarn (size 1, 4 ply, sock yarn). Sample used Botanical Yarn, 4ply Merino Sock (750% Superwash Merino Wool, 25% Nylon; 425 m per 100g), in color Galentines (A wool or wool blend yarn is recommended for better memory and elasticity in the ribbing.)
For a short beanie: Approx. 320 m / 350 yds.
For a long beanie: Approx. 420 m / 460 yds .
HOOKS: 3 mm or size needed to meet gauge.
NOTIONS: 1 stitch marker (or loose strand of yarn) and a tapestry needle.
Alternative Yarns
Any fingering weight yarn will work, but I recommend a wool or wool based yarn for better stretch and memory such as these:
Cascade Heritage, Solids (75% Merino Wool, 25% Nylon)
Knit Picks, Twill (100% Fine Superwash Merino Wool)
Lion Brand, Sock Ease Yarn (75% Wool. 25% Nylon)
Sirdar, Country Classic 4 Ply (50% Wool 50% Acrylic)
GAUGE
25 sts x 30 rows = 10 cm x 10 cm / 4x4 in. Worked with a 3mm hook flat over stitch pattern as follows: Row 1: dsl; Row 2: slBLO; Row 3: dslBLO. Rep Rows 2 and 3.
Swatch was measured blocked while fabric remained very stretchy - do not overstretch during blocking!
ABREVIATIONS
BLO: Back Loop Only
ch: chain
dsl: double slip stitch (see Special Techniques)
dec: decrease
mkr(s): marker(s)
PM: place mkr
RS: Right side
sk: skip stitches or spaces
st: stitch
slst: slip stitch
WS: Wrong side
SPECIAL TECHNIQUES
dsl (Double Slip Stitch)
Yarn over, insert hook into st, yarn over and draw through st and both loops on hook. For extra help on how to work this stitch and dslBLO, watch this tutorial
dslBLO
Work as for dsl but insert hook through the back loop of st only.
PATTERN NOTES
The beanie is worked vertically in one piece. At the top, short rows are used to shape the crown. The short rows make “segments” that divide the whole of the beanie. There are 6 segments around. Once the whole of the beanie has been worked, it is joined at the side on the WS and the hole in the crown is closed.
All rows labeled “Up Rows” are worked upwards, from the brim to the crown, and are always dslBLO rows. Rows labeled “Down Rows” are worked from the crown to the brim and are always slBLO rows.
You can carry a marker along the top-most stitch of every row to help identify it easier.
Find the video tutorial HERE or scroll down.
Purchase the ad-free pattern with 6 different sizes HERE.
THE PATTERN
For a short beanie, ch 78. For a long beanie with a folded brim, ch 102.
This chain will determine the length of the beanie at its longest point, so feel free to adjust this starting chain to taste - keep in mind that a chain will always stretch longer than the actual work after a few worked rows.
The end of the chain, where the hook is now, is the Bottom end of your work. The other end is the Top end. From the top end, count 24 sts, PM in next ch.
From now on, the stitch count will indicate the number of sts between the mkr and the top end.
Body of the Beanie
Segment 1
The (up) or (down) next to the row number indicate the direction of the row. “Up” rows go from brim to crown. “Down” rows go from crown to brim.
ROW 1 (up): Ch1 (NEVER counts as a st), dsl to 1 ch from the end, turn leaving the last ch unworked. [23 sts between mkr and top end - dec 1 st]
ROW 2 (down): Ch1, sk first st, slstBLO to end of the row, turn. [22 sts between mkr and top end - dec 1 st]
ROW 3 (up): Ch1, dslBLO to 1 st from the end, turn leaving the last st unworked. [21 sts between mkr and top end - dec 1 st]
ROW 4 (down): Ch1, sk first st, slstBLO to end of the row. [20 sts between mkr and top end - dec 1 st]
Repeat the prev 2 rows a further 10 times. [0 sts between mkr and top end]
NEXT UP ROW: Ch1, dslBLO to end of row, *dsl on side of the short row “step”, dslBLO in next empty st, rep from * to the last empty st of the row (in the 1st segment, the last empty st is from the starting chain). [24 sts between mkr and top end]
NEXT DOWN ROW: Ch1, slstBLO to end of row, turn. [24 sts between mkr and top end]
Segment 1 is complete with 26 rows.
Segments 2 - 6
Repeat Segment 1 a further 5 times, making sure ALL sts are done BLO.
Closing
The way the segments come together at the top varies on each side. Choose which side will be the RS and WS based on the preferred look of the crown.
While WS facing, slst the outer loops of the last row of the beanie to the starting chain.
Fasten off and cut.
Thread the tail left at the starting chain through a tapestry needle and weave the yarn through the top of each segment of the crown on the RS. Pull to tighten and close the hole.
Fasten off on the WS.
Finishing Touches
Weave in all ends.
Add pom pom if desired.
Block to measurements
Thank you for making my design! I hope you enjoyed the process and that your beanie fits just right. Please contact me if you have any questions or comments at sandra@nomadstitches.com or head to my Pattern Support Group Nomad Stitchers. For more Nomad Stitches designs, please visit www.NomadStitches.com, Ravelry or find me on Instagram @nomadstitches. And don’t forget to share your finished garment on social media using the hashtags #MyNomadMake and #PescadorLight.
*This pattern is for personal use. I do not authorize the sale or distribution of the pattern itself or the pictures in it. The finished item may be sold or distributed. However, I ask for it to be recognized as a Nomad Stitches design. Thank you.
Sandra Gutiérrez